How does process mapping work
This technique tracks every step in a process and identifies, not only what is being done, but also who, where, when, how, and even makes it possible to discover why.
The process map, for example, can help accounting departments identify and document how payments are processed..
Furthermore, an HR department can use this same technique to identify how professionals are recruited during the stage of Recruitment and selection of personnel.
The objective of process mapping is to visually represent the steps involved in a particular process. This allows for a better understanding of how the process works, identification of any inefficiencies or bottlenecks, and areas for improvement. It can also be used for training purposes, to ensure consistency in how a process is executed, and to facilitate communication among team members.
Decision-makers within a company can use process mapping to gain more detailed insight into all operational processes and how each one may be affecting business objectives, even considering other factors such as compliance.
Ultimately, this technique is of great help to organisations. It is an advantage to carry out a process map, examples:
- Gaining in effectiveness by eliminating steps in a process that contribute nothing.
- Increased efficiency in operations is achieved, providing a clear and comprehensive overview of any or all workflows and potential issues.
- Boosting agility is achieved in processes by eliminating bottlenecks.
Here are the components of a process map, with examples:
* **Start/End Points:** These signify the beginning or end of a process.
* *Example:* "Order Received" (Start), "Customer Paid" (End).
* **Activities/Tasks:** These are the specific actions or steps that are performed within the process.
* *Example:* "Check Stock Availability", "Process Payment", "Pack Order", "Ship Order".
* **Decisions:** These represent points where a choice needs to be made, leading to different paths in the process.
* *Example:* "Is item in stock?", "Is payment valid?", "Is approval required?". These are often represented as diamonds.
* **Documents/Data:** These are the inputs or outputs of a process, such as forms, reports, or data files.
* *Example:* "Purchase Order", "Invoice", "Shipping Manifest", "Customer Data".
* **Flow Lines/Connectors:** Arrows that show the direction of the process flow from one step to another.
* *Example:* An arrow connecting "Check Stock Availability" to "Pack Order" if the item is in stock.
* **Sub-processes:** A higher-level process can be broken down into smaller, more detailed processes.
* *Example:* "Order Fulfilment" could contain sub-processes like "Inventory Management" or "Shipping Logistics".
* **Roles/Resources:** Identifying who or what is responsible for performing each task.
* *Example:* "Sales Team", "Warehouse Staff", "Customer Service Representative", "Automated System".
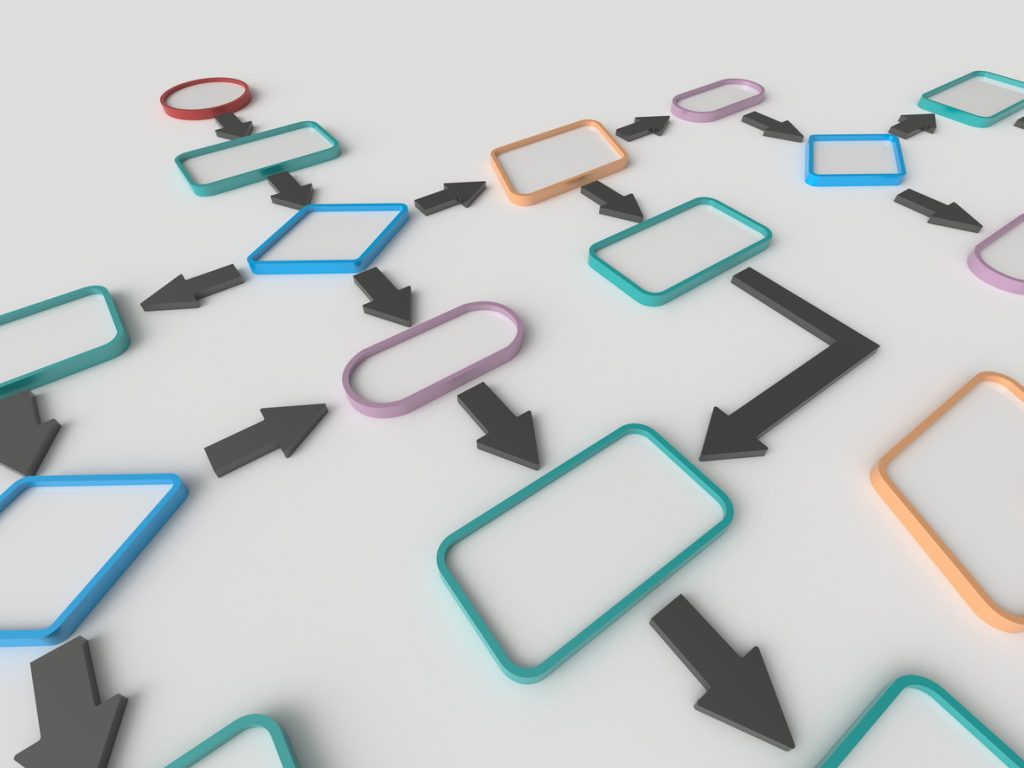
The process mapping It's quite simple to perform and easy to interpret. Although each is distinct, key symbols are typically used in process maps, examples such as:
- A circle that marks the beginning of a process.
- A box: which identifies each step of a process.
- A rhombusthat alludes to a decision.
- The arrowindicates the direction of flow, connecting two elements together.
Basic steps for process mapping
It could be said that there are certain basic process mapping steps that those responsible for carrying out the task should be aware of.
Before starting with process map examples, it is worth considering who is involved, what activity is carried out, as well as where, when and how it is performed, as you progress through each step.
This way, it's easier to ensure no loose ends are left. In any company, the steps to a process map would be the following:
- Step 1: To determine the precise process to be mapped (from start to finish) to avoid overlap with other processes.
- Step 2Take the necessary time to go through the process and speak with all participants to obtain additional information.
- Step 3Sequence each activity within the process, as it occurs.
- Step 4Use relevant flowchart symbols to create a process map.
- Step 5Verify with the relevant participants that the process map is accurate.
- Step 6Finalise the task, document it, and share the process map and any additional information with stakeholders.
If you need inspiration before you get started on your process map, examples like those from Captio, Lucidchart or Pinterest can help you.